Building and Installing Post and Rail Fences
Publish on: 16-Mar-2025
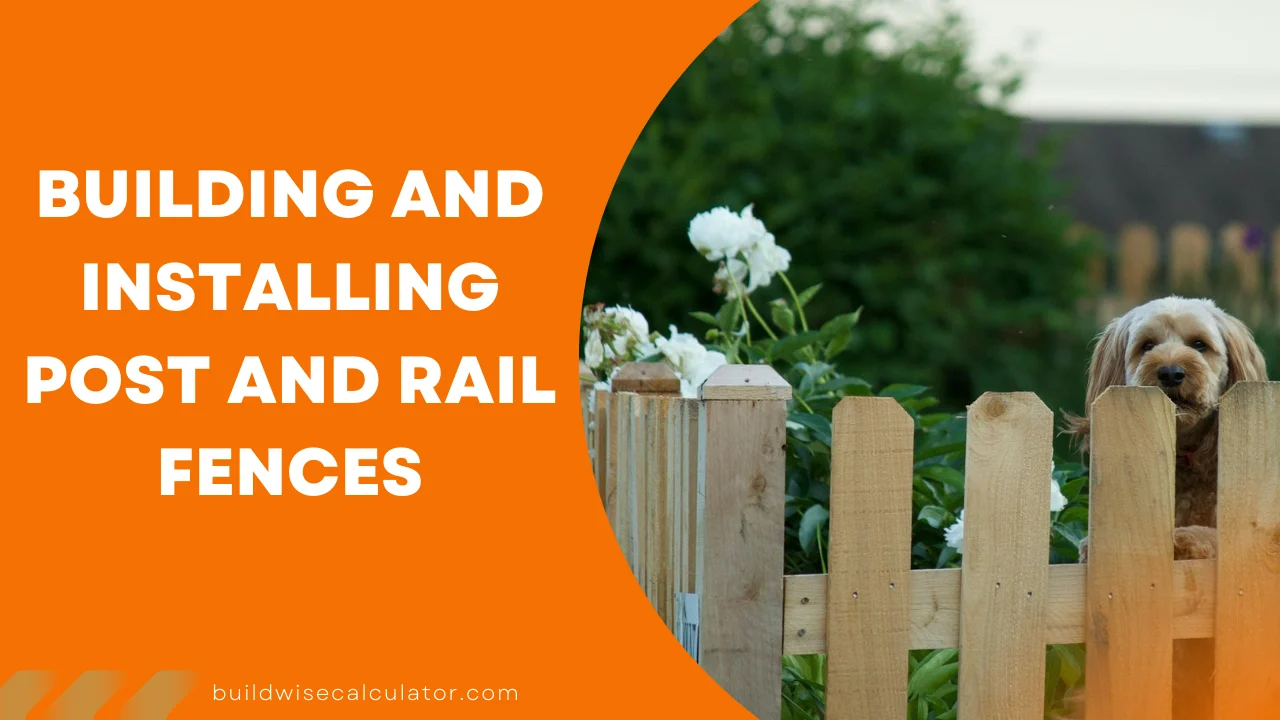
Post and rail fences are a classic option for property boundaries, livestock enclosures, or just adding a touch of rustic charm to your landscape. They’re easy to build, tough, and attractive. Whether you want to do it yourself or hire a professional, this guide will take you through the process of building and installing a post and rail fence, including tips for dealing with slopes, uneven ground and cost.
What is a Post and Rail Fence?
A post and rail fence consists of vertical posts with horizontal rails running between them. It’s one of the simplest fence designs, often used for:
- Marking property lines.
- Keeping livestock contained.
- Adding a decorative touch to gardens or farms.
The beauty of this fence lies in its simplicity. It’s easy to build, requires minimal materials, and can be customized to fit your needs.
Materials and Tools You’ll Need
Before you start, gather these materials and tools:
Materials:
- Posts: Wooden or metal posts (cedar, pine, or pressure-treated wood are popular choices).
- Rails: Wooden boards or pre-made rails.
- Concrete or gravel: For securing the posts.
- Nails or screws: To attach the rails.
Tools:
- Post hole digger or auger.
- Level, measuring tape, and string.
- Saw, hammer, and drill.
Planning your post and rail fence? Use our Post and Rail Fence Calculator to quickly figure out how many posts and rails you’ll need based on your fence length and spacing. It’s a handy tool to save time and ensure you get the right materials for your project.
Step-by-Step Guide to Building a Post and Rail Fence
Step 1: Plan and Measure
Start by marking the fence line. Use stakes and string to outline where the fence will go. Measure the distance between posts—usually 6 to 8 feet apart. This spacing ensures the fence is sturdy and looks even.
Step 2: Dig Post Holes
Dig holes for the posts using a post hole digger or auger. The holes should be about one-third the height of the posts. For example, if your posts are 6 feet tall, dig 2-foot-deep holes.
Step 3: Set the Posts
Place the posts in the holes and check they’re level using a spirit level. Fill the holes with concrete or gravel to secure the posts. Let the concrete set for at least 24 hours before moving to the next step.
Step 4: Attach the Rails
Cut the rails to size if needed. Attach them horizontally between the posts using nails or screws. Make sure the rails are level and evenly spaced. For a standard fence, two or three rails per section are usually enough.
Building on Slopes or Uneven Ground
If your property has slopes or uneven terrain, don’t worry—you can still build a post and rail fence. Here’s how:
- Follow the Slope: Use a string line to mark the slope. Adjust the height of each post to match the ground level.
- Step the Fence: Install the rails parallel to the ground, creating a stepped effect. This method works well for gentle slopes.
- Contour the Fence: For steeper slopes, contour the fence by cutting the rails at an angle to follow the ground.
Tips for Sloped Fences:
- Use longer posts for steeper slopes.
- Ensure posts are securely anchored to prevent leaning.
Cost of a Post and Rail Fence
The cost of a post and rail fence depends on the materials and size of your project. Here’s a breakdown:
- Wooden Fences: 10to10to20 per linear foot.
- Metal Fences: 20to20to40 per linear foot.
- DIY vs. Professional Installation: Doing it yourself can save labor costs, but hiring a professional ensures precision and durability.
Maintenance Tips
To keep your fence looking great and lasting longer:
- Regularly check for loose rails or posts and tighten them as needed.
- Treat wooden fences with sealant or paint to protect against rot and weather damage.
- Replace damaged rails or posts promptly to maintain the fence’s strength.
Frequently Asked Questions
1. How do I install a post and rail fence on uneven ground?
Adjust the post heights to match the slope and use stepped or contoured rails.
2. What’s the best wood for a post and rail fence?
Cedar and pressure-treated wood are popular for their durability and resistance to rot.
3. How much does a post and rail fence cost?
On average, 10to10to40 per linear foot, depending on materials and labor.
4. Can I add wire to a post and rail fence for livestock?
Yes, attaching wire mesh or electric wire can make the fence more secure for animals.
Building and installing a post and rail fence is a rewarding project that adds both function and beauty to your property. With the right materials, tools, and techniques, you can create a fence that lasts for years. Whether you’re working on flat ground or a steep slope, this guide has you covered.
So, grab your tools, plan your fence line, and get started. Your new post and rail fence is just a few steps away!
Recent Posts
How Much Rebar Do I Need? – A Complete Guide
How Much Epoxy Do You Need for Your Floor?
How to Calculate Yards of Concrete: A Simple Guide for Your Next Project
Difference Between Cement and Concrete: What You Need to Know
How to Calculate Tile for a Shower: A Beginner’s Step-by-Step Guide
Roof Truss: Picking the Right Thickness for Your Project
Concrete Slab Construction: Materials, Process & Thickness Rules
How to Calculate Square Feet of a Wall: A Beginner’s Step-by-Step Guide
What is Crown Molding? Its Pros, Cons, and Uses
What is MDF? A Complete Guide to Medium-Density Fiberboard
What is Concrete? History, Types, Costs, and Tips for Working with It
What is Asphalt, How is it Made, and How Much Does it Cost?
Drywall: A Complete Guide to Installation, Repair, and Finishing
Floor Wax Guide: Best Practices for Wood, Tile, and Hardwood Surfaces
Tar and Gravel Roofs: A Durable Roofing Solution for Modern Homes
What Masonry Sand Is and Its Uses
Best Plywood Types for Roofing: Strength, Durability, and Protection
Slope: Why It Matters and How to Define It
Roof Panels: Types, Installation, Costs, and Maintenance
Electric Fences: Installation, Costs, Testing, and How They Work
How to Calculate Acreage of an Irregular Lot?
How Deep Should a Patio Base Be? Expert Tips and Material Choices
Deck Posts: Types, Materials, Pros & Cons, and Spacing
Types of Stone Wall: A Complete Guide
Mild Steel vs Carbon Steel | What is the differance?
How Deep Should a Fence Post Be?
5052 vs. 6061 Aluminum: Key Differences and Best Uses
Carpet Area vs Built-Up Area: What’s the Difference and How to Calculate?